Wood Connection Guest Post and Giveaway!
THIS GIVEAWAY IS CLOSED–CONGRATS TO REBECCA OUR LUCKY WINNER!!
Have you been to the wood connection lately? It is overflowing with all things Fall/Halloween…..so I know it feels a bit early, but I couldn’t help but get into the spirit of the holiday. You really have to work on your projects in September anyway so that you can enjoy October 🙂 After you read this post, follow the instructions at the bottom to enter and win a $25.00 gift card from the Wood Connection.
I’ve been dying to try a technique on how to transfer photos to wood. I’m going to guide you through a fun project using that technique as well as a fun little 99-center that you can use when hosting all of those fun fall parties.
Let’s get started…
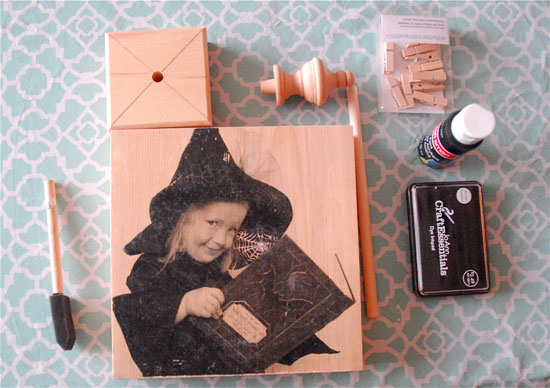
Supplies:
From the Wood Connection:
8×8 wood square…if you ask, they will drill a second hole in the top to be used for the finial
wood finial
wood dowel
wood base
black acrylic paint
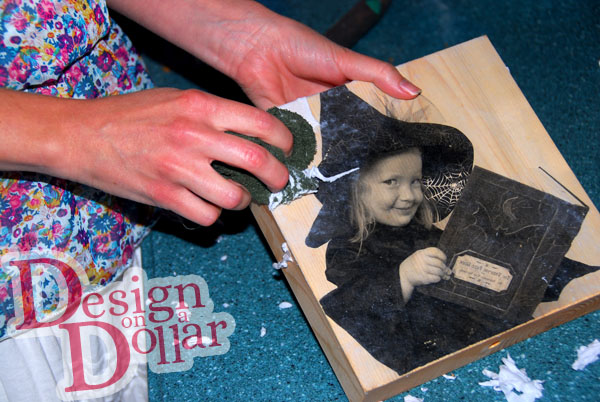
Rather than go through a full tutorial, I am going to connect you with an article I used online with terrific instructions. It is REALLY IMPORTANT that you use a LASER PRINT–this will not work on an inkjet…I got mine done at Office Max for a whopping 30 cents.
Click here for the tutorial link from digital photography school
It worked like a charm; however, I did have a little bit of difficulty getting all of the paper off without taking off the print towards the end…I used a rag at first and ended up doing a lot of rubbing with my fingers when things got more delicate.
I used this acrylic gel medium from Michael’s Craft store. It is 3.99, but you can use a 40% off coupon (if you have a smartphone, they will scan it right from your phone!). Here is a link if you want to see what it looks like: Acrylic Gloss Gel Medium
I painted all my wood (with the exception of the printed side) in a gloss black and used a black stamp pad to distress the edges a bit.
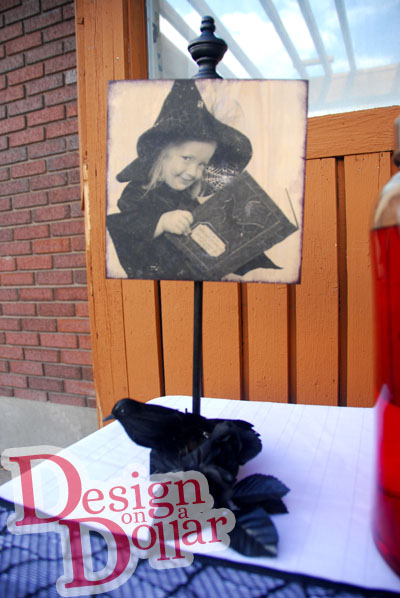
Here is my finished product:
 The picture is my adorable 4 year old (she was 3 in this picture). Doesn’t she look mischievous? I bet she’s got some good spells in that book 🙂
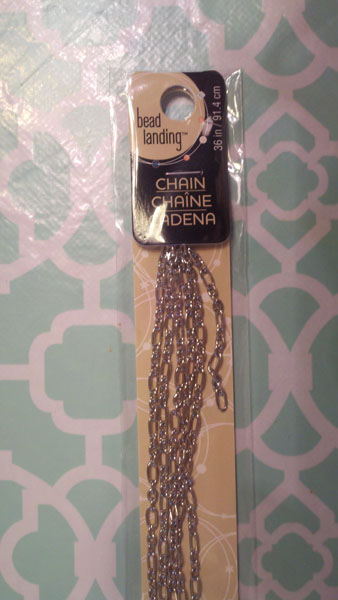
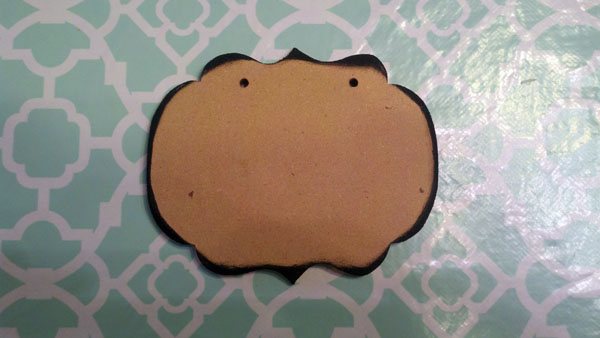
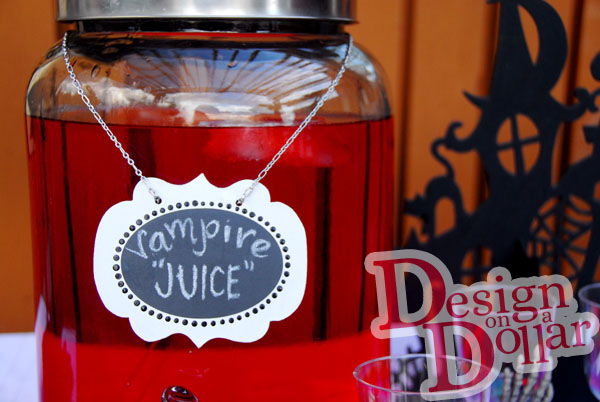
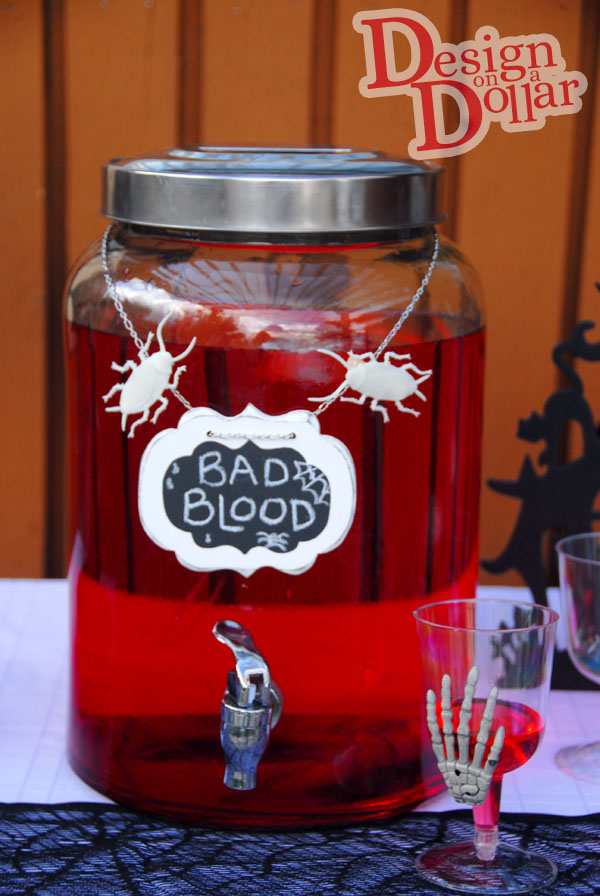
For my second project, I used this fun little wood label. The possibilities are endless for projects you could use these on! I decided to make it into a re-usable drink dispenser label. I used a jewelry chain (also from Michael’s at $3.99 and a perfect fit!) to match the other silver elements on my dispenser (see pic).
First, I painted the sanded edges (which are only on one side) black. I wanted an off-white label with black distressing peeking through–this is a simple technique to achieve that look.
Then I applied a couple of coats of Ivory paint. Did you know that they make chalkboard vinyl now? You can buy it from the Silhouette store online or try your local sign shop. I decided to make it double-sided…on one side, I just cut an oval out of the vinyl. For the main side I traced the label, took a picture of it with my phone and e-mailed it to myself, then imported it into my Silhouette software. From here, I used the trace function to get the outline of the label. (Silhouette has tutorials here if I just lost you). Then, I did a quick copy paste and made my second image smaller to my liking within the full-size label–make sense? (I only cut the smaller one…to fit within the actual size of the the wood label). Cut them out and stick them on. In hindsight, I would have sealed my wood before applying the vinyl to give it a nice waterproof protecting coat (with either modge podge or a sealant spray). If you subscribe to my blog, I will send you a free file with the shapes all ready to go.
I just used a sanding block to lightly distress the edges on the sanded side. On the other side, I used the end of a paintbrush to make little dots around the oval.
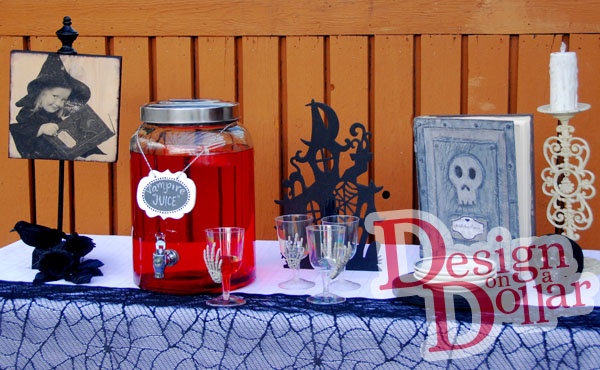
Here are the two finished projects in a nice little party table display 🙂 I love how everything turned out!
Here is a great little punch recipe for your drink dispenser:
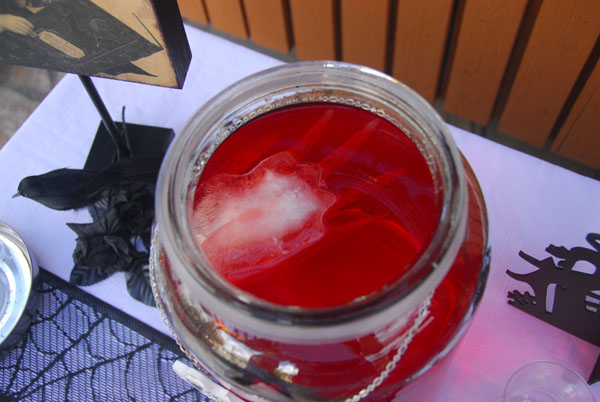
I put water in some latex gloves and tied them off like a water balloon to freeze…the glove slips right off if you run a little water over them 🙂 Don’t use the kind with powder inside!
Ingredients
- 1 (46-ounce) can red punch (recommended: Hawaiian Punch)
- 1 (46-ounce) can apple juice
- 1 (48-ounce) bottle cranberry juice
- 1 (2-liter) bottle ginger ale
- Ice cubes
Directions
Combine all ingredients in a large punch bowl or pot. Add ice and stir.
Recipe Source: The Food Network
Contest Instructions:
To enter for the gift card, please do the following things:
1) “Like” Design on a Dollar on Facebook
2) “Pin” Something from this post on Pinterest (if you don’t have a pinterest account, please note that in your comment
3) Subscribe to my blog by entering your e-mail address to the right!
Leave a comment saying that you completed all 3 tasks! Contest will be open until this Friday, August 31st. Winner will be announced the following Monday!!
THIS GIVEAWAY IS CLOSED–CONGRATS TO REBECCA OUR LUCKY WINNER!!
Comments
Trackbacks & Pingbacks
-
[…] show you another fun idea using supplies from my favorite wood crafting store! You may remember this post where I showed you a few fun tutorials. I wanted to expand on that idea and show you a couple of […]
-
[…] show you another fun idea using supplies from my favorite wood crafting store! You may remember this post where I showed you a few fun tutorials. I wanted to expand on that idea and show you a couple of […]



marybeth i
Hi – I followed on FB, pinned the juice ans subscribed via RSS. VERY cute !!! Love the juice and the picture block – totally adorable.
LaPriel
You’ve been busy! As always, your ideas are wonderful! 🙂
Deborah Peterson
I “liked” on Facebook, pinned the adorable completed pic on wood of your daughter(can’t believe how big she has gotten)and suscribed to the blog!
Annette
Did all the tasks, hope I win. Thanks for sharing.
Heather Stockton
I completed all 3 tasks!! Whoo hoo!!
Dawn P
Did all 3! Love it! I am so going to try this!
Becky
Did all 3 things! I loooove the Wood Connection, hope I win!
Shalena S
Did all 3! I agree about starting all Halloween Projects in September, Hope I win!! 🙂
Sevina W
Did all 3! Very cute ideas!! Thanks:)
Yolva
I did all 3! So excited to explore this blog. Cute ideas!
Susan D.
Glad I found your blog. Your project turned out great! Did all 3 tasks…thanks for the chance to win.
Suzanne
Love the blog…did all 3 tasks and would love to win the gift card…Halloween Party here I come!
Kelly
love love love them all! You’re brilliant. Can I pay you to make mine? LOL The pic you used is perfection!
Melissa Steinfeldt
Thank you for your ideas! I pinned the photo block, liked you on FB and subscribed to your blog.
Julie Yost
I completed all the tasks. I love the blog! Very cute ideas.
Mindy Daley
I completed everything. My fingers are crossed and hoping to win…I already have it spent! LOL! thank you!!!
Megan
Did the tasks. Don’t have pinterest account though. Thanks
Rebecca
I completed all three tasks! Hope I win, I love the woodconnection 🙂
Kaitlin Boles
Thank you for an awesome giveaway! Completed all 3 task!
kaitlin(dot)boles(at)gmail(dot)com
http://pinterest.com/pin/123708320985373294/
Lindsey
I liked, subscribed and pinned! So glad I found your blog, love it!
Kim Nicholls
I love your blog. I have completed all three tasks.
Diane
Really cute ideas!! I did all 3!
Shani
Completed all three tasks! 🙂
Niki W.
I did 2. I don’t have a pinterest account though…
Thank you!!!
Melanie
I did all 3! Hopefully I’m not too late! So excited to try the punch!
admin
CONGRATS REBECCCA! YOU ARE OUR LUCKY WINNER! 🙂
Rebecca
Is it really me? If so, Woohoo, I am so so stoked!! What do I do now to claim the certificate?
admin
Indeed! Email your physical address to michelle@designonadollar.com and I will put it in the mail asap! 🙂